
Originally published on Substack on 09 May 2024.
What should I do with my old laptop?
We all face this question every four to five years right? Don’t throw your old laptop in the recycle bin or back of your closet or sell your computer for scrap or second-hand use. Instead, convert it into a lightweight system by installing either Ubuntu or ChromeOS Flex. You can use it for yourself or give it to your loved ones. The installation process is straightforward and user-friendly, so you don't need to be a tech expert.
I had an old Windows 10 laptop (Acer Nitro 5). It became too lagging and it was a frustrating move to even deal with it. So, I kept it apart after buying a new one.
But one day, I had this thought why not give it a try with Ubuntu or ChromeOS? Because the laptop had no resale value at the moment. This is now best for trying anything. In my opinion, this approach is one of the best options for giving old laptops a second chance.
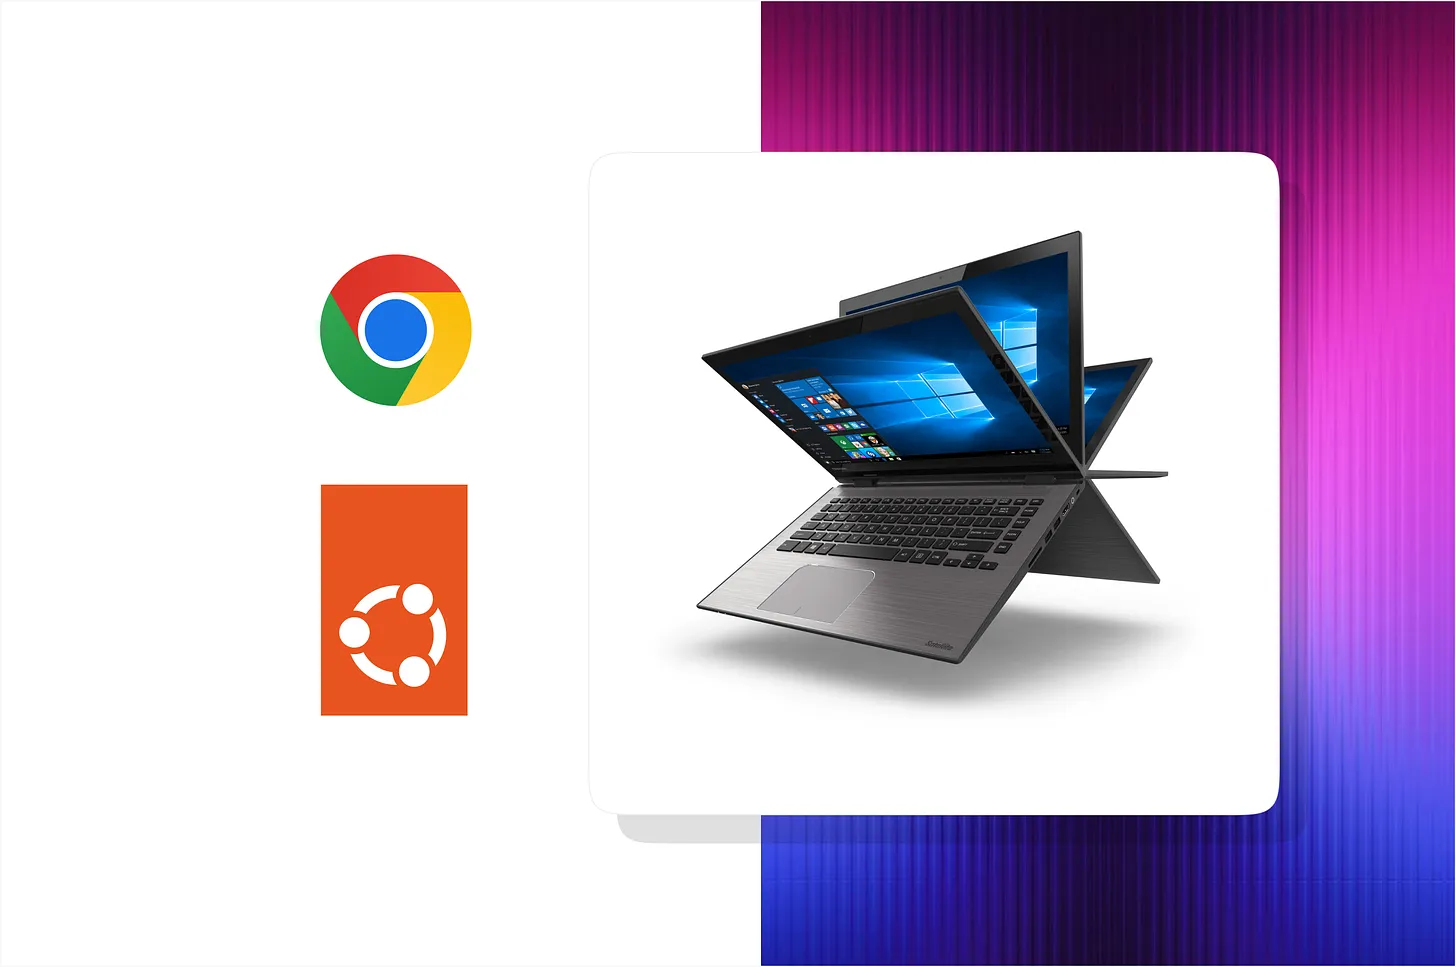
1. Install ChromeOS Flex on an old laptop
Check the minimum device requirements here: https://support.google.com/chromeosflex/answer/11552529?hl=en
It is a very straightforward process. No complicated commands or anything is needed. Just get a pen drive (8 GB or more) and you're good to go.
This is best for kids, nontech enthusiastic students or professionals, and elderly people. Because of the simplicity of the UI, it's basically like using a big Tablet. So adaptation is not an issue and is easily achievable within a few days. Watch this video.
Install ChromeOS Flex on your old laptop.
- Install the balenaEtcher tool or any other utility to create a bootable USB.
- Download the latest ChromeOS Flex installer image from the ChromeOS Flex installation guide link (https://dl.google.com/chromeos-flex/images/latest.bin.zip) and extract the file.
- Open the balenaEtcher, select the image file, then the drive, and click Flash. That's it.
Gif credits: balenaEtcher
- Now pick up your old laptop insert the bootable USB and boot from the USB drive. If you don't know how to change the boot order, refer to this perplexity page here.
- Soon the installer window will appear. Read the headings, and select the Try or Install option, that's it.
You can install Android-supported applications. Please remember that, nowadays, most of the platforms are built in a Progressive Web Application mode, so you can install PWAs and use them as you use them on any other operating system.
For detailed steps (you don’t need it, but just in case), consider visiting the official website here.
2. Install Ubuntu on an old laptop
Check the minimum device requirements here: https://ubuntu.com/download/desktop#system-requirements
Before proceeding, I'm also a newbie in the Linux universe. You can either learn by doing everything on your own or understand the terms early to make it more interesting. I jumped into the process and due to excitement, played around many unknown commands and ended up crashing the system several times. I reinstalled Ubuntu more than ten times. It's more easy than installing a Windows OS.
It’s best for tech-enthusiastic people. Or configure every essential thing and hand it over to other people. Great for browsing the internet and doing office work.
2.1 Understand the world of Linux
Linux is a family of open-source operating systems. There are many distros(short for distribution) available for users depending on their needs, like Desktop, Server, Core (IoT and embedded systems), and Cloud.
2.2 What is Ubuntu
Ubuntu is the most user-friendly distro out there and it is based on another well-established distro called Debian.
It's by default bundled with the GNOME1 desktop environment (If you want, you can change it to the KDE Plasma desktop or any other). Elevate the user experience by installing some extensions from GNOME Shell Extensions. That’s the fun part.
A brief note on the difference between desktop environments (GNOME, KDE, etc.) https://www.perplexity.ai/search/Give-me-a-Mikn9J1DThymxfRsXaPalA
Ubuntu is free and fully open source. It provides updates in two styles. One is Long Term Support Release (LTS), every two years in April. The other is Interim Release, every six months, in April and October. If you're into experimenting with everything as soon as possible, try the frequent one.
Explore further on Ubuntu's website, you can see a lot of different flavors of the Ubuntu OS, each with its own choice of default applications, interfaces, and settings.
Once installed, you'll have only the essential things, and you can customize it to feel like home. That's the beauty of Linux distros!
2.3 Installation process (Max 10 mins)
- Download the preferred image (LTS or Interim) from the Ubuntu release page.
- Install the balenaEtcher tool or any other utility to create a bootable USB.
- Open the balenaEtcher, select the image file, then the drive (16 GB or more), and click Flash. That's it.
- Insert the bootable USB and boot from the USB drive. If you don't know how to change the boot order, refer to this perplexity page here.
- The installation process is straightforward and in simple UI. I’d say better than Windows installation.
- Connect to the internet and download any additional drivers if prompted.
- Reboot.
After restart you'll get the default look and feel of Ubuntu. It's slightly into macOS design style but a mix of Windows too.
2.4 Start customization
You can use it as it is or go deep and make it super-friendly by installing a few extensions and tweaking some settings.
There are several ways to install applications in Ubuntu. You can choose between using the terminal for more control, app stores (Flathub, Snap Store, etc), for ease of use, or individual package formats like
- DEB
$ sudo apt install <package_name>.deb - Snap
$ sudo snap install <package_name> - AppImage These are portable software. No need to install it. Go to properties make the program executable and run. You might need an additional package called libfuse2. Use the following command.
$ sudo apt install libfuse2 - Flatpak
$ sudo apt install flatpak
RPM: Used in Red Hat-based distributions. Installed with sudo dnf install <package_name>.rpm (or sudo yum install in older systems).FAQ; Dollar ($) sign meaning in Ubuntu.
Disclosure: I discovered all these commands by interacting with Google Gemini.
By going forward you will read "sudo" many times. Sudo2 stands for "super user do".
Before installing anything, you need to run the below commands. It's recommended to run these commands regularly to keep your Ubuntu system secure and functioning optimally.
$ sudo apt update
Fetches the latest software information.$ sudo apt upgrade
Use that information to install updates for your existing software.
2.4.1 Mount drives
If the drives are not mounted by default try the below steps.
- Identify the drive3 in Ubuntu: Run the following command to list block devices:
$ lsblk -f - Verify mount status4
$ df
Sometimes there will be an error like "Unable to access location in Ubuntu". To fix this;
- Check the file system type5
$ blkid /dev/sdX(Replace X with the device name) - Create a mount point (if it doesn't exist)6
$ sudo mkdir /media/your_username/InternalHDD - **Mount the drive
**$ sudo mount -t ntfs /dev/sdX /media/your_username/InternalHDD
2.4. 2 Download Chrome
- Open the terminal (Ctrl+Alt+T)
- Download the Google Chrome .deb file with the following command:
$ wget https://dl.google.com/linux/direct/google-chrome-stable_current_amd64.deb - Install the downloaded file with the following command:
$ sudo dpkg -i google-chrome-stable_current_amd64.deb
2.4.3 Installing essentials
- Gparted; The GNOME partition editor for creating, reorganizing, and deleting disk partitions.
$ sudo apt install gparted - GNOME Extension Manager: A tool for browsing, installing, and managing GNOME Shell Extensions.
$ sudo apt install gnome-shell-extension-manager - GNOME Tweaks: A tool that lets you customize the GNOME desktop environment, including appearance, fonts, workspaces, and more.
$ sudo apt install gnome-tweaks - Update Snap Store: The app store for Linux
$ sudo snap refresh snap-store - Install Nano text editor: A small editor on the terminal.
$ sudo apt install nano - Set keyboard shortcuts the same as Windows
Settings > Keyboard > Keyboard shortcuts - Add gesture extension with X11 Gestures (You need to install Touchegg too).
- Software center issues: If you’re facing issues with the Ubuntu Software, open a terminal and run
$ sudo apt clean$ sudo apt update && sudo apt upgrade$ sudo apt autoremove gnome-software$ sudo apt install gnome-software
2.4.4 Some useful extensions
- App menu is back: It will display the name of the active app.
- Arc menu: A Windows experience, but better.
- Blur my shell: Give the shell a feel of blur and a little noise.
- Clipboard history: Manage copied items.
- GSConnect: Download KDE Connect on your phone (or any other device) and easily send files, clipboard items, and manage the system, etc.
- Net speed: It will show the current net speed on the panel.
- OpenWeather refined: To display the current weather.
- User themes: Load shell themes from the user directory.
- X11 gesture: Three or four-finger swipe gesture. Great for multitasking.
You can further personalize your desktop with a variety of extensions that'll make it feel more like home. Visit https://extensions.gnome.org/. Once installed, go to the “Installed” tab and click the settings icon to tweak.
In case you face any doubt or feeling stuck somewhere, just go to https://gemini.google.com/ and ask. It will guide you.
Here's a preview of my customized Ubuntu setup, showcasing its adaptability and potential for personalization.
Conclusion
In my opinion, Ubuntu and ChromeOS are the best lightweight operating systems for older computers. You can feel the improvement in speed and performance.
Unlike Windows and Mac, these are not paywall protected. You can download and install it for free!
Based on Statcounter data from April 2024, the global desktop operating system market share shows Windows dominating with 72.22%, followed by macOS at 14.73%.
Undoubtedly, the pre-installation of Windows on most new laptops has contributed to the dominance of Windows in the market. However, this practice also results in inflated prices for consumers, as the cost of the Windows license is often bundled into the overall price of the laptop.
You may notice that Ubuntu has less software support compared to Windows, largely due to its smaller market share. However, by adopting Ubuntu and advocating for its wider adoption, we can increase its popularity and encourage software companies to develop more applications for this platform.
While the transition to Ubuntu may require some initial adjustment, the benefits of cost savings, customization, security, and community support make it a compelling alternative to the pre-installed Windows ecosystem.
Open-Source Philosophy: By advocating for Ubuntu, we are supporting the open-source movement, which promotes transparency, collaboration, and freedom from vendor lock-in.
Additional help about the mounting drive in Ubuntu.
You may encounter an issue where we have to run a command every time after a reboot because the mount information isn't being automatically loaded during startup. Here are two ways to configure automatic mounting:
You need to change "X" in sdX and "your_username"Method 1: Using fstab7 (with caution)
- Open a terminal and run
$ sudo nano /etc/fstab - At the end of the file, add a new line
$ /dev/sdX /media/your_username/InternalHDD ntfs defaults 0 0 - Press
Ctrl+Oto save the changes. and pressCtrl+Xto exit the Nano editor.
Method 2: Using a script and startup applications
- Create a script: Open nano editor and create a file named
mount_hdd.shwith the following content#!/bin/bashsudo mount -t ntfs /dev/sdX /media/your_username/InternalHDD - Make the script executable: Open the path where you saved the script in the terminal and run the following command
$ sudo chmod +x mount_hdd.sh - Add the script to Startup Applications: Open “Startup Applications”, click "Add", give a name, and fill in the path including the file name. Then submit.
Note; Sometimes method 2 doesn’t work, so you have to double-click it on every start-up. I faced this issue too. So tried the first method and working fine now.
Comments
Join the ConversationLoading comments...